TabView + CustomTabView
탭뷰는 그렇게 어렵지 않다.
하지만 커스텀 탭뷰는 탭뷰를 사용하는게 아니므로 각별히 주의하자!
✅ TabView
import SwiftUI
struct MyTabView : View {
var body: some View{
TabView { // 탭뷰를 걸어준다.
// 보여질 화면
// Text("1번")
// .fontWeight(.black)
// .font(.largeTitle)
MyView(title: "1번", bgColor: Color.red) // 뷰
.tabItem { // 뷰에 탭 아이템을 건다!
Image(systemName: "airplane")
Text("1번")
}
.tag(0) // tag설정
// Text("2번")
// .fontWeight(.black)
// .font(.largeTitle)
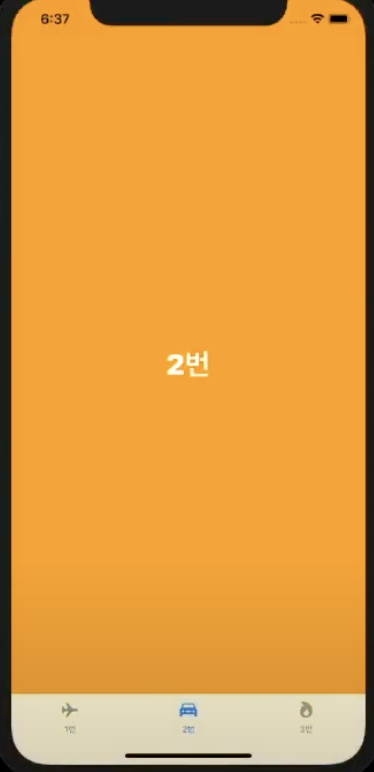
MyView(title: "2번", bgColor: Color.orange)
.tabItem{
Image(systemName: "flame.fill")
Text("2번")
}
.tag(1)
// Text("3번")
// .fontWeight(.black)
// .font(.largeTitle)
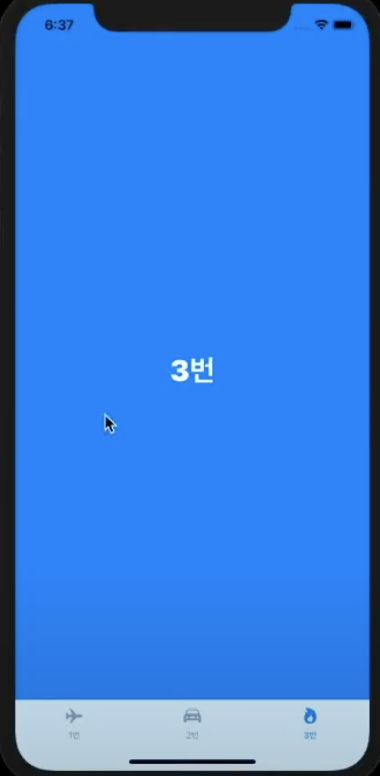
MyView(title: "3번", bgColor: Color.blue)
.tabItem{
Image(systemName: "doc.fill")
Text("3번")
}
.tag(2)
}
}
}
✅ MyView
import SwiftUI

struct MyView : View {

    var title: String

    var bgColor: Color

    var body: some View {

        ZStack{

            bgColor // 	배경 컬러를 지정
            .edgesIgnoringSafeArea(.all)

            Text(title)
                .font(.largeTitle)
                .fontWeight(.black)
                .foregroundColor(Color.white)

        }
        .animation(.none) // 커스텀 탭뷰에서 이 코드가 없으면 화면 자체에도 애니메이션이 걸리기 때문에 필요
    }
}
✅ MyCustomTabView
커스텀 탭뷰에서는 bottomSafeArea를 고려를 해주어야 한다.
그러니까 iPhone 12와 iPhone SE2에서 뷰가 달라질 수도 있다는 이야기
✅ CustomTabView
import SwiftUI
enum TabIndex {
// case home
// case cart
// case profile
case home, cart, profile
}
struct MyCustomTabView : View {
@State var tabIndex : TabIndex // tabIndex를 찾기 위함
@State var largerScale : CGFloat = 1.4 // 선택했을 때 사이즈 크게
/// tabIndex에 따라서 MyView를 교체합니다.
func changeMyView(tabIndex: TabIndex) -> MyView {
switch tabIndex {
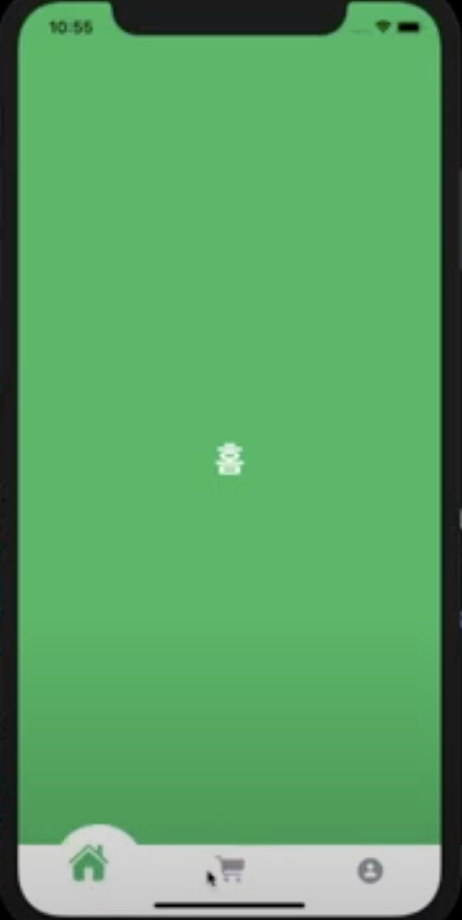
case .home:
return MyView(title: "홈", bgColor: Color.green)
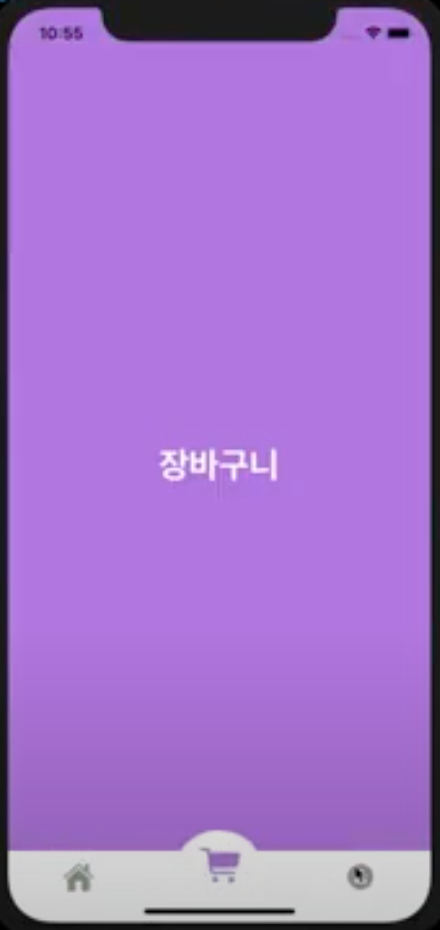
case .cart:
return MyView(title: "장바구니", bgColor: Color.purple)
case .profile:
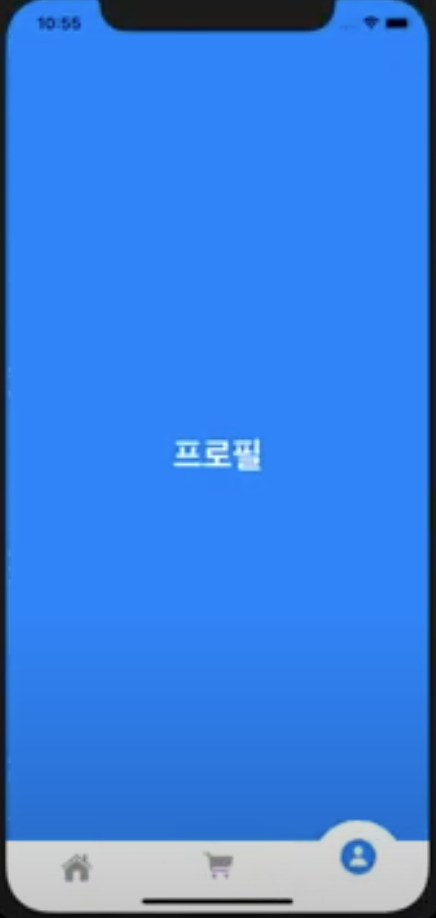
return MyView(title: "프로필", bgColor: Color.blue)
default:
return MyView(title: "홈", bgColor: Color.green)
}
}
/// tabIndex에 따라서 컬러를 변경합니다.
func changeIconColor(tabIndex: TabIndex) -> Color {
switch tabIndex {
case .home:
return Color.green
case .cart:
return Color.purple
case .profile:
return Color.blue
default:
return Color.green
}
}
/// tabIndex와 geometry정보를 받아서 탭뷰의 Circle의 위치를 결정하여 반환합니다.
func calcCircleBgPosition(tabIndex: TabIndex, geometry: GeometryProxy) -> CGFloat{
switch tabIndex {
case .home:
return -(geometry.size.width / 3)
case .cart:
return 0 // xPosition을 반환하는데 화면의 중앙이 0
case .profile:
return geometry.size.width / 3
default:
return -(geometry.size.width / 3)
}
}
var body: some View{
// Text("MyCustomTabView")
GeometryReader { geometry in // geometry를 통해 뷰의 가변적인 사이즈를 계산하기 위함
ZStack(alignment: .bottom) {
self.changeMyView(tabIndex: self.tabIndex)
Circle()
.frame(width: 90, height: 90)
.offset(
// x의 위치는 함수로 찾고
x: self.calcCircleBgPosition(tabIndex: self.tabIndex,geometry: geometry),
// y의 위치 같은 경우에는 safeArea를 고려해야 하기 때문에 이렇게 코드 작성
y: UIApplication.shared.windows.first?.safeAreaInsets.bottom == 0 ? 20 : 0
)
.foregroundColor(Color.white)
// Stack들은 기본적인 spacing을 갖고 있는데 그것을 0으로!
VStack(spacing: 0) {
HStack(spacing: 0) {
Button(action: {
print("홈 버튼 클릭")
withAnimation {
self.tabIndex = .home // 애니메이션과 함께 변경
}
}) {
Image(systemName: "house.fill")
.font(.system(size: 25)) // 이미지에서는 이미지 사이즈!
.scaleEffect(self.tabIndex == .home ? self.largerScale : 1.0) // 이미지 크기
.foregroundColor(self.tabIndex == .home ? self.changeIconColor(tabIndex: self.tabIndex) : Color.gray)
.frame(width: geometry.size.width / 3, height: 50)
.offset(y: self.tabIndex == .home ? -10 : 0) // 선택하면 -10만큼 위로 올라오게끔
}
.background(Color.white)
Button(action:{
print("장바구니 버튼 클릭")
withAnimation{
self.tabIndex = .cart
}
}){
Image(systemName: "cart.fill")
.font(.system(size: 25))
.scaleEffect(self.tabIndex == .cart ? self.largerScale : 1.0)
.foregroundColor(self.tabIndex == .cart ? self.changeIconColor(tabIndex: self.tabIndex) : Color.gray)
.frame(width: geometry.size.width / 3, height: 50)
.offset(y: self.tabIndex == .cart ? -10 : 0)
}
.background(Color.white)
Button(action:{
print("프로필 버튼 클릭")
withAnimation{
self.tabIndex = .profile
}
}){
Image(systemName: "person.circle.fill")
.font(.system(size: 25))
.scaleEffect(self.tabIndex == .profile ? self.largerScale : 1.0)
.foregroundColor(self.tabIndex == .profile ? self.changeIconColor(tabIndex: self.tabIndex) : Color.gray)
.frame(width: geometry.size.width / 3, height: 50)
.offset(y: self.tabIndex == .profile ? -10 : 0)
}.background(Color.white)
} // HStack
// Rectangle은 커스텀 탭바를 쓰면서 아래에 딱 붙어서 살짝 올리기 위해서
Rectangle()
.foregroundColor(Color.white)
.frame(height: UIApplication.shared.windows.first?.safeAreaInsets.bottom == 0 ? 0 : 20)
}
}
}.edgesIgnoringSafeArea(.all)
}
}
'apple > SwiftUI, Combine' 카테고리의 다른 글
| [SwiftUI] QRcodeReader (0) | 2022.05.23 |
|---|---|
| [SwiftUI 3.0] State/ Binding / EnvironmentObject (0) | 2022.05.19 |
| [SwiftUI] GeometryReader (0) | 2022.05.19 |
| [SwiftUI] NavigationView (0) | 2022.05.18 |
| [SwiftUI] List (tableView in UIKit) (0) | 2022.05.18 |