UICollectionView에 대해서 알아보기 7편
(UICollectionViewDiffableDataSource)
iOS 13이상에서 사용하능하다.
결과 코드
7편에서는 이거 알아보자!

UICollectionViewDiffableDataSource OverView

음,, 아직 사용하진 않았지만 글을 읽어보는 것만으로도 RxDataSource와 비슷하다고 생각든다.
기존의 UICollectionView의 경우에는 reloadData 등 복잡했지만
쉽게 말해서 이제는 걍 apply로 다 관리하겠다는 말.
정말 기초적인 내용이 궁금하다면 공식 문서 및 다른 포스팅을 참고해주세요.
https://zeddios.tistory.com/1197
Diffable Datasource
안녕하세요 :) Zedd입니다. 이거 꼭 공부해보고싶었는데! # Introducing Diffable Data Source WWDC19. Apple이 Diffable Datasource를 소개합니다. 물론 iOS 13부터 사용이 가능한 ^^.. Datasource하니까 가장..
zeddios.tistory.com
이번에 하려고 한 것
1. 검색
2. 셀 삭제
3. 셀 업데이트 (컨텐츠 값이 업데이트 되며, 레이아웃 이슈로 번뜩이는 문제가 존재)
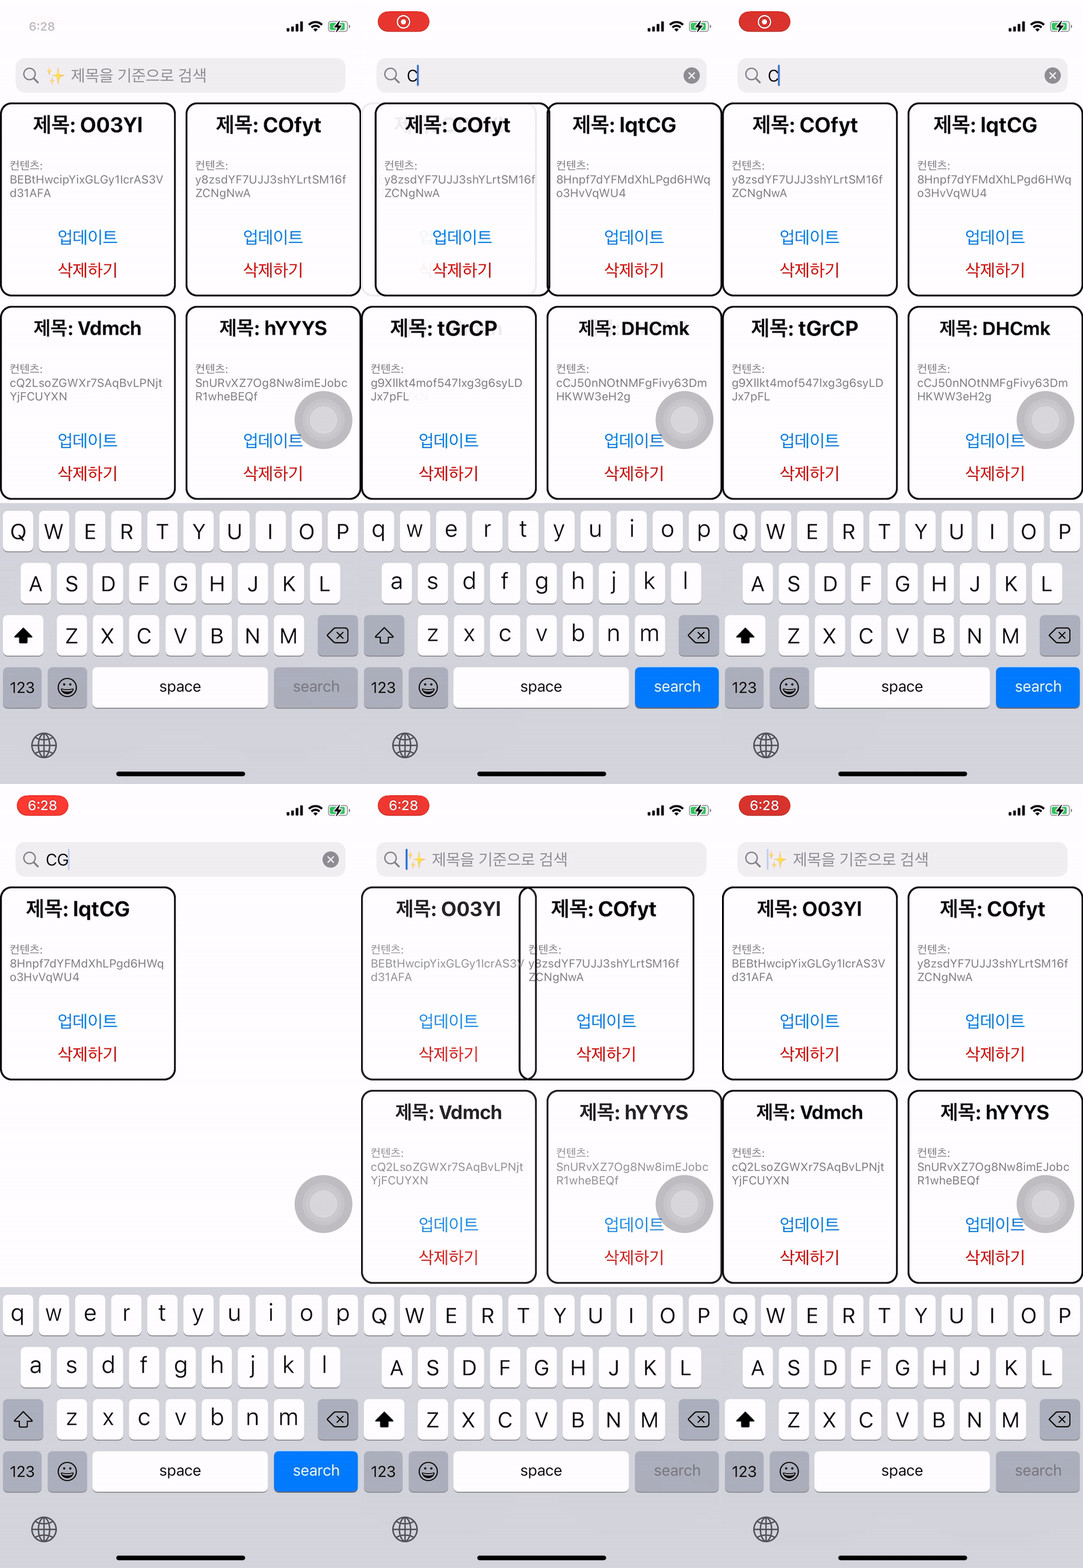


🌿 일단 구현 🌿
1. UICollectionViewDiffableDataSource의 전체적인 사용이 궁금하다면 🥕 아이콘을 따라가주세요.
2. 🍕, 🥬 검색하여 업데이트 하는 부분
3. 💦 Realm의 안정적인 사용과 관련이 있는 부분 (순서에 유의)
//
//  SearchNoteViewController.swift
//  AppleCollectionView
//
//  Created by Hamlit Jason on 2022/09/04.
//
import UIKit
import RxSwift
import RxCocoa
import RealmSwift

class SearchNoteViewController: UIViewController {
    let disposeBag = DisposeBag()

    // 🥕 1. 섹션 만들어주기
    enum Section: CaseIterable {
        case main
    }
    // 🥕 2. 데이터소스 만들어주기
    var collectionViewDiffableDataSource: UICollectionViewDiffableDataSource<Section, Note>!

    // MARK: - View
    let searchBar = UISearchBar()
    lazy var collectionView: UICollectionView = {
        var layout = UICollectionViewFlowLayout()
        layout.scrollDirection = .vertical

        let collectionView = UICollectionView(frame: .zero, collectionViewLayout: layout)
        return collectionView
    }()

    // MARK: - Life Cycle
    override func viewDidLoad() {
        super.viewDidLoad()

        setupNavigationBar()
        setupCollectionView()
        setupCollectionViewDiffableDataSource()
        Task {
            await setupSanpshot()
        }

        bind()
    }

    func bind() {
        searchBar.rx.text
            .withUnretained(self)
            .skip(1)
            .bind { owner, text in
                Task {
                    // 🍕 1. 필터링 된 값을 읽어오고
                    let object = try! await Array(Note.readNote(with: text!))

                    // 🍕 2. 스냅샷 잡아주기
                    await owner.setupSanpshot(with: object)
                }

            }
            .disposed(by: disposeBag)
    }
}

extension SearchNoteViewController: UICollectionViewDelegateFlowLayout {
    func setupNavigationBar() {
        self.navigationItem.titleView = searchBar
        searchBar.placeholder = "✨ 제목을 기준으로 검색"
    }

    func setupCollectionView() {
        view.addSubview(collectionView)
        collectionView.delegate = self
        collectionView.register(
            NoteCell.self,
            forCellWithReuseIdentifier: NoteCell.identifier
        )
        // NOTE: - 레이아웃을 잡아주어야 한다.
        collectionView.snp.makeConstraints {
            $0.edges.equalTo(view.safeAreaLayoutGuide)
        }
    }

    // 🥕 3. 컬렉션 뷰 dataSource설정
    func setupCollectionViewDiffableDataSource() {
        self.collectionViewDiffableDataSource = UICollectionViewDiffableDataSource<Section, Note>(
            collectionView: self.collectionView) { collectionView, indexPath, itemIdentifier -> UICollectionViewCell? in

                guard let cell = collectionView.dequeueReusableCell(
                    withReuseIdentifier: NoteCell.identifier,
                    for: indexPath
                ) as? NoteCell else { return UICollectionViewCell() }

                // NOTE: - 매우중요!! indexPath.row로 하는게 아니다.
                let note = itemIdentifier

                cell.noteCellDelegate = self
                cell.configureCell(with: note, indexPath: indexPath)

                return cell
            }
    }

    // 4. 🥕 초기 스냅샷을 설정
    func setupSanpshot(with object: [Note] = Array(Note.readNote())) async {

        var snapshot = NSDiffableDataSourceSnapshot<Section, Note>()
        snapshot.appendSections([.main])
        snapshot.appendItems(object)
        self.collectionViewDiffableDataSource.apply(snapshot, animatingDifferences: true)
    }

    func collectionView(_ collectionView: UICollectionView, layout collectionViewLayout: UICollectionViewLayout, sizeForItemAt indexPath: IndexPath) -> CGSize {
        let width = (UIScreen.main.bounds.width - 10) / 2
        let height = width * 1.1

        return CGSize(width: width, height: height)
    }
}

extension SearchNoteViewController: NoteCellDelegate {
    func noteCell(updateNote note: Note, indexPath: IndexPath) async {
        // 🥬 1. 값 업데이트
        try? await Note.updateNote(with: note, indexPath: indexPath)
        // 🥬 2. 현재 스냅샷 가져오기
        var currentSanpshot = self.collectionViewDiffableDataSource.snapshot()

        // 🥬 3-1. 스냅샷 섹션을 업데이트
        // currentSanpshot.reloadSections([.main])

        // 🥬 3-2. 스냅샷 현재 보여지는 items를 업데이트
        currentSanpshot.reloadItems(currentSanpshot.itemIdentifiers)

        // 🥬 3-3. 스냅샷 현재 보여지는 items를 업데이트 (iOS 15 이상) 성능 최고!
        // currentSanpshot.reconfigureItems(snapshot.itemIdentifiers)

        // 🥬 4. 컬렉션 뷰 데이터 소스 apply~!
        self.collectionViewDiffableDataSource.apply(currentSanpshot)
    }

    func noteCell(deleteNote note: Note) {
        // 💭 아직도 이해가지 않는 여기 로직 HELP ME!
        // 원래는 Note.delete()를 먼저한 후
        // setupSnapshot을 수행했는데, 이 코드의 경우 앱이 크래시남 🚨
        // Thread 1: "Object has been deleted or invalidated."
        // Realm 사용과 관련한 문제인 것 같은데, 이를 더 조사해보자!

        Task {
            // 💦 1. 삭제할 값을 제외하고 object를 만들고
            let object = Array(Note.readNote()).filter {
                $0.id != note.id
            }

            // 💦 2. 스냅샷 업데이트!
            await self.setupSanpshot(with: object)

            // 💦 3. 그 이후에 값을 delete해주면 됩니다!
            Note.deleteNote(with: note)
        }
    }
}
🚨 버그를 잡아보자.
해당 부분을 구현하면서 만났던 버그들을 정리해 보았다. 1.5일 걸림,, ㅠㅠㅠㅠㅠㅠ
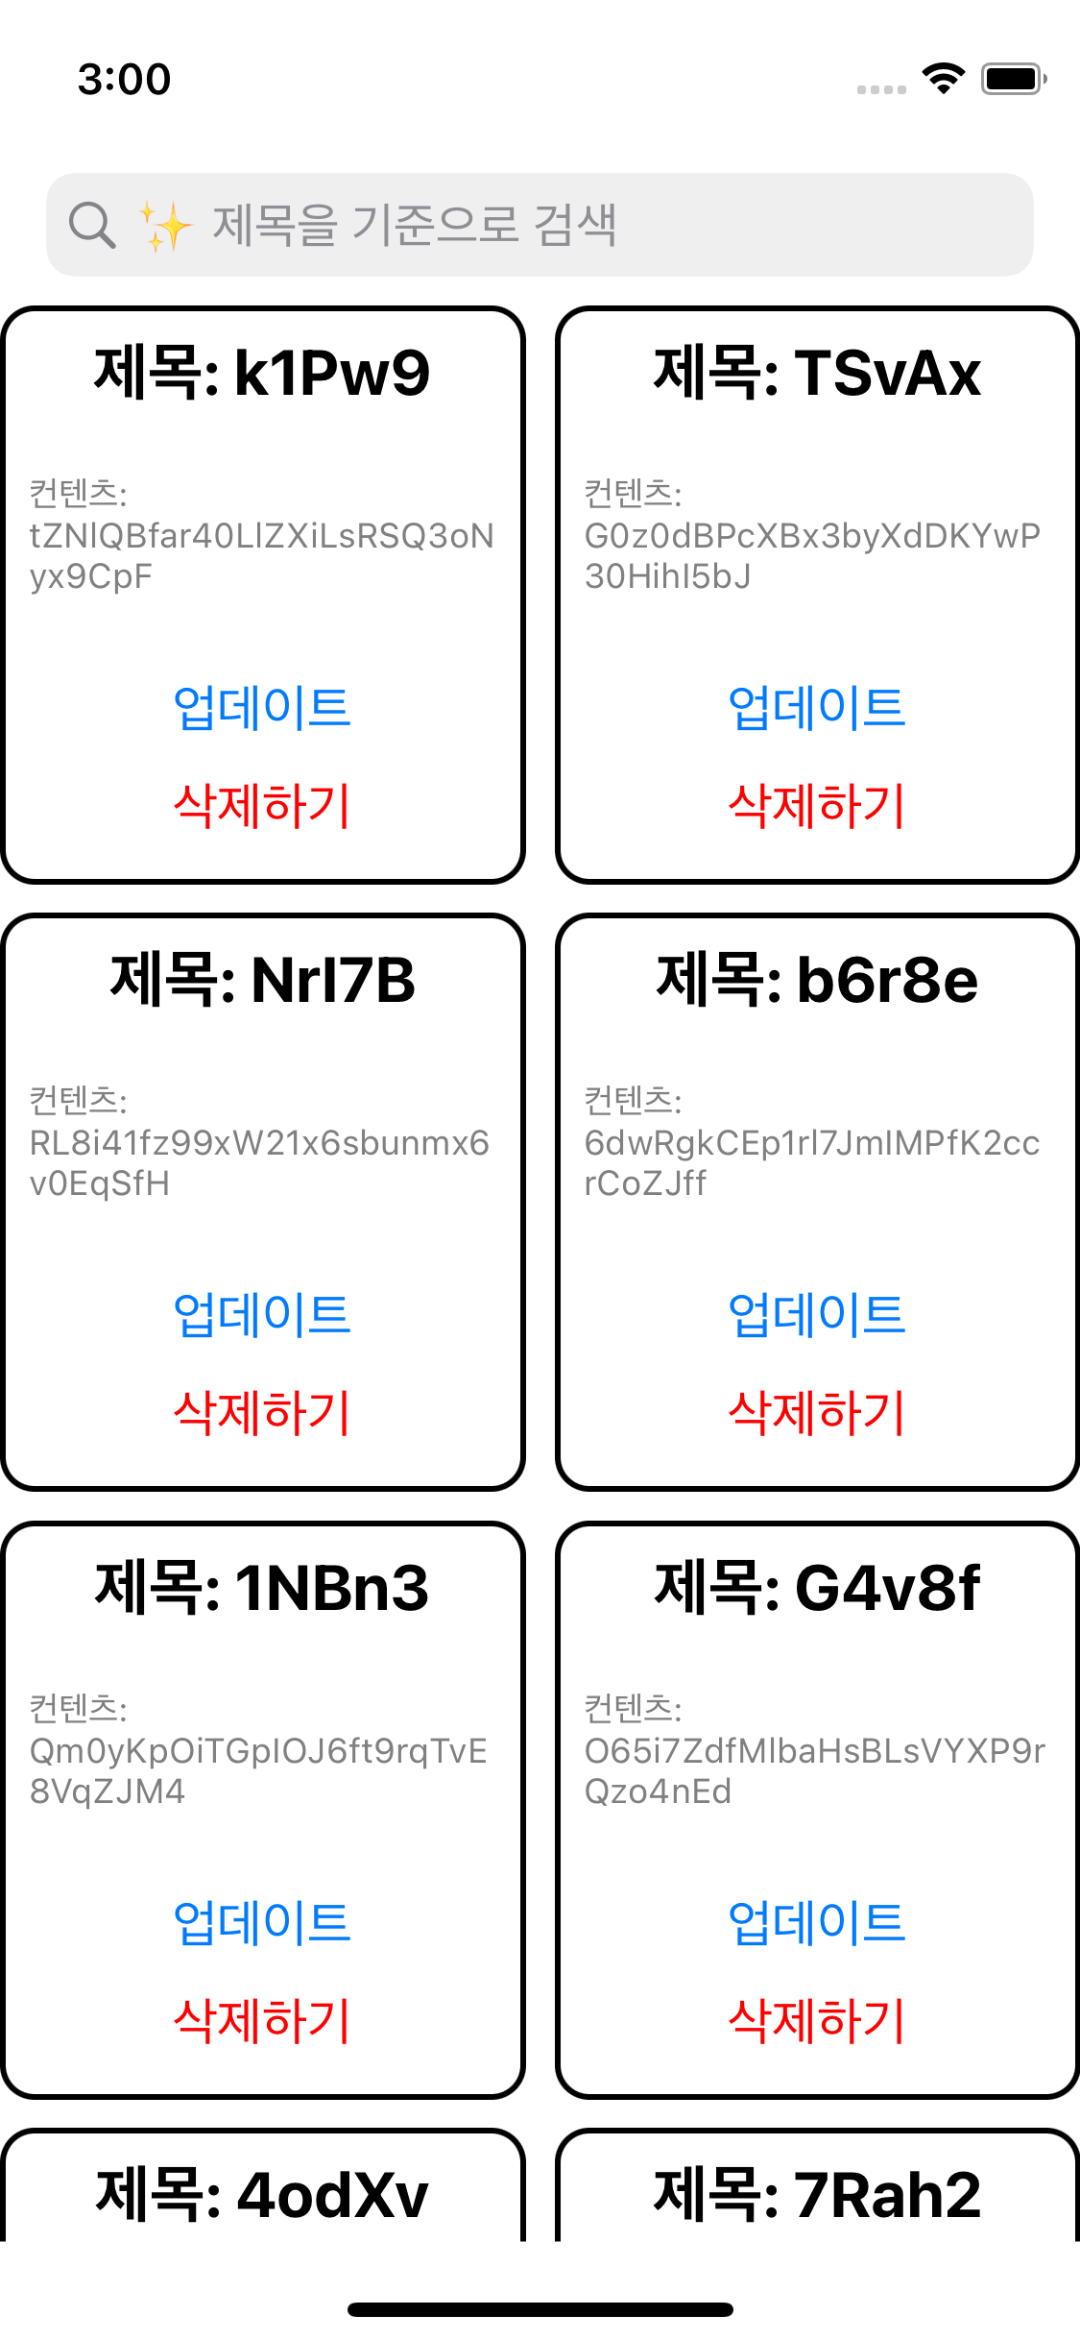
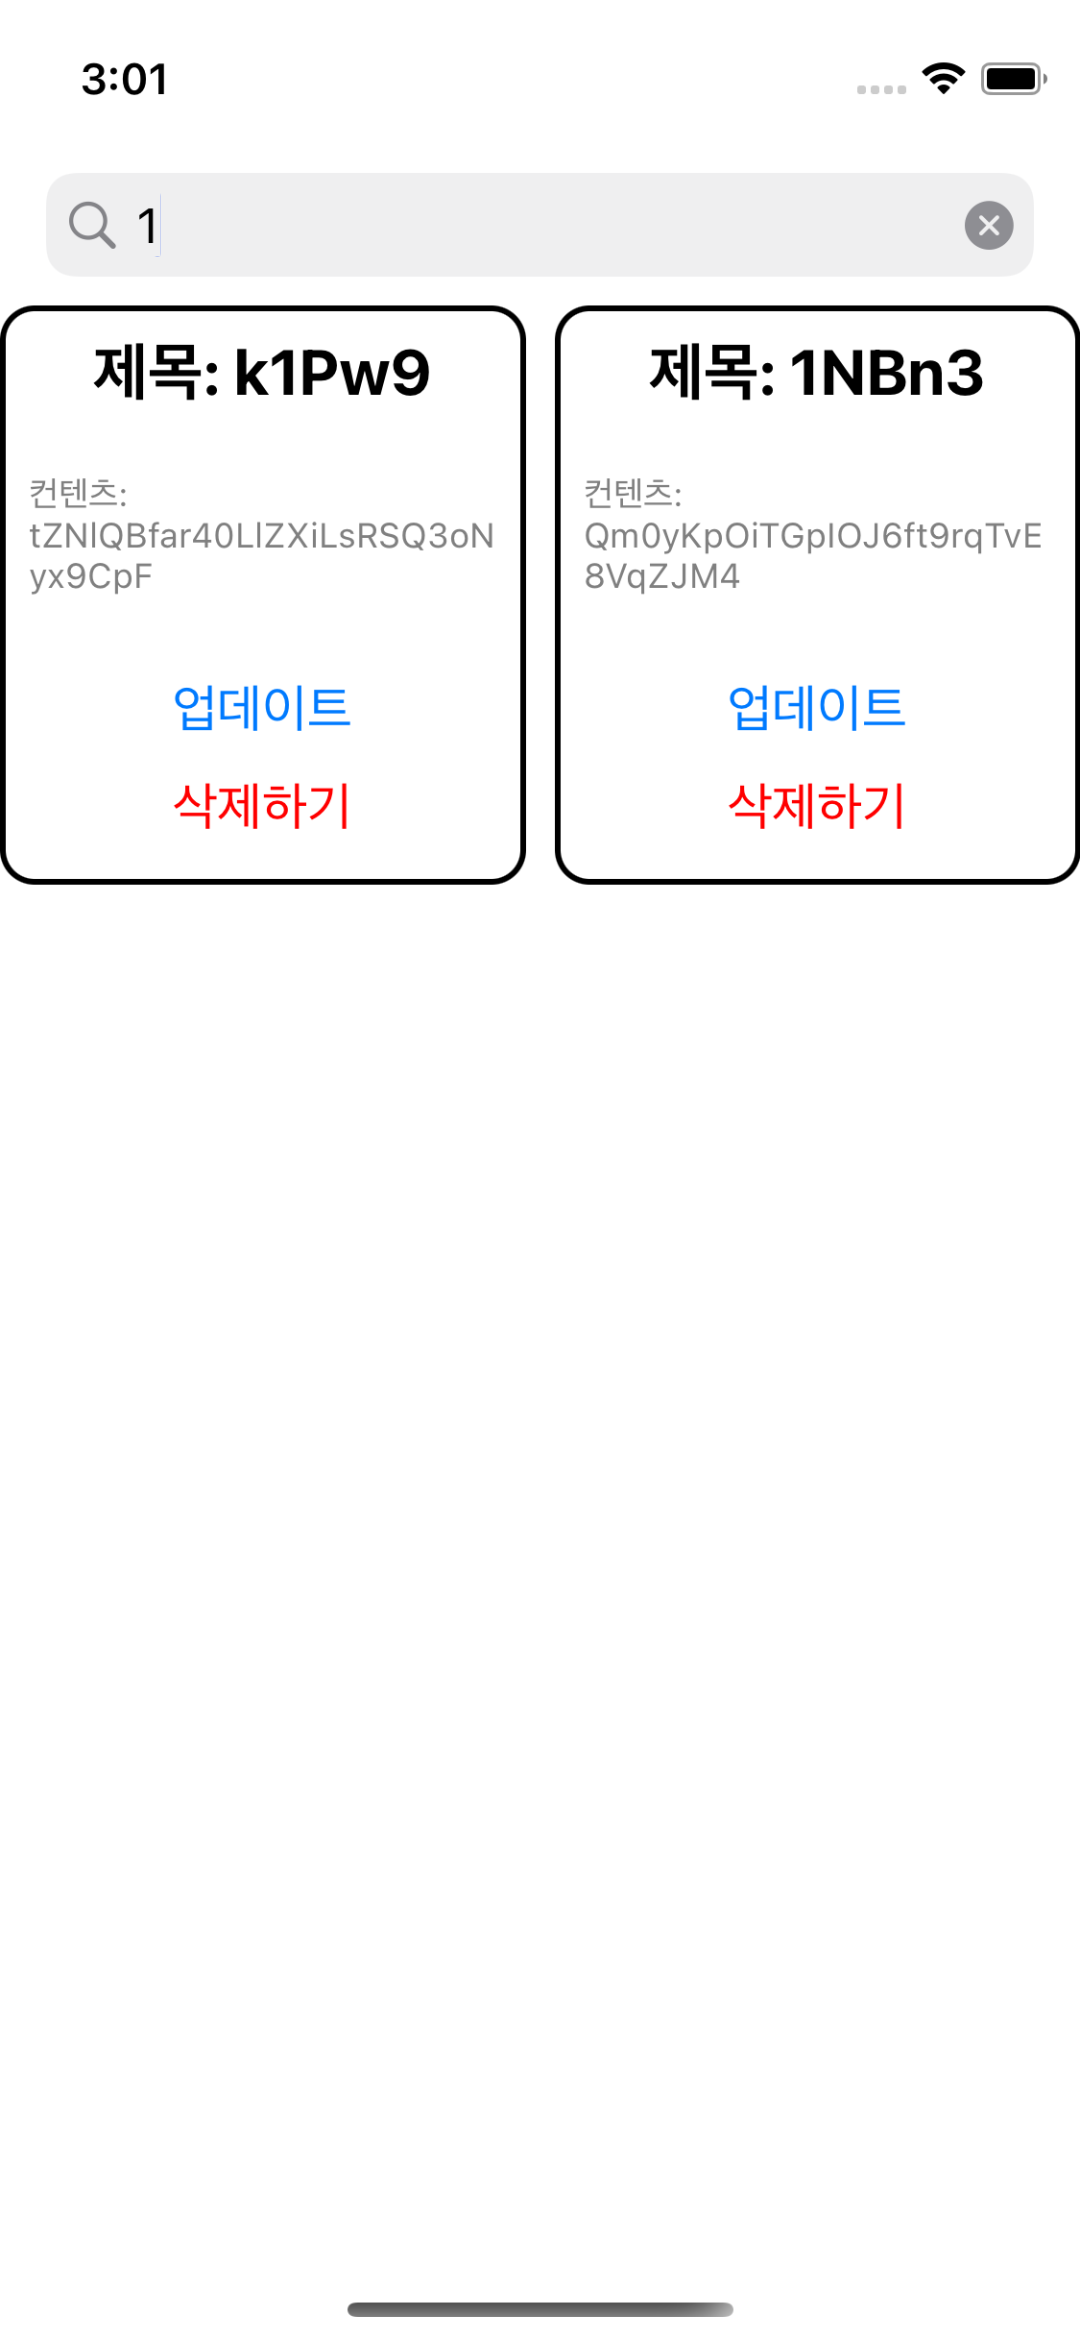

🌿 하루하고 반나절만에 버그를 잡았다.
의식의 흐름
아니 스냅샷 데이터 분명히 잘 들어갔는데 왜 UI만 다르게 나오지?
cell 그리는 부분을 봤음.
A ㅏ?
내가 준 데이터가 아니라 그냥 계속 전체 배열 기준으로 찾고 있었네 하 ,, 개눈물
암튼 해결했는데, 코드수정해 두겠음ㅎㅎ
의심 1) async - awiat을 도입하면서 내가 아직 Task에 대한 이해가 부족하다. 그러니까 Task가 문제가 아닐까?
Task의 비동기 처리 순서를 체크해보자
-> 결론) 원인 아니였음. 데이터가 잘 들어가고 있었음.

아니 UI에 제대로 된 값이 반영이 안된다. 이게 무슨 일이지,,
저거 실행하면 순서가
2 -> 1 -> 3 -> 4 순서로 나타난다.
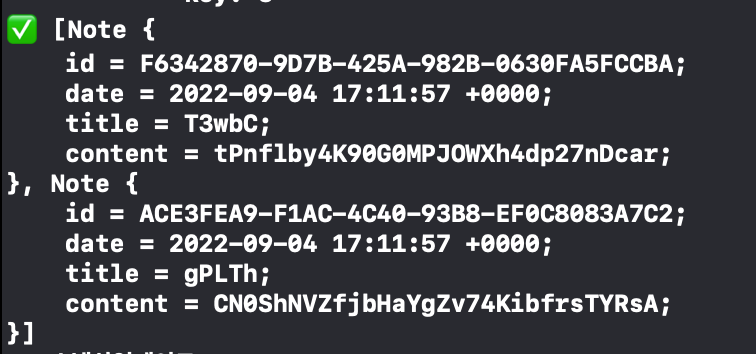
나는 위에 보이는 사진을 apply하고 있는데, UI는?

이상한 값이 보여지고 있다.
해당 cell을 프린트 해봐도, UI에 보여지는 값으로 설정되어 있다.
무엇이 문제일까?
의심2) 갯수는 그대로 맞는데 그러면
혹시 그리는걸 잘못 그렸나?

순서 1, 2, 3, 4 순서로 잘 실행된다.
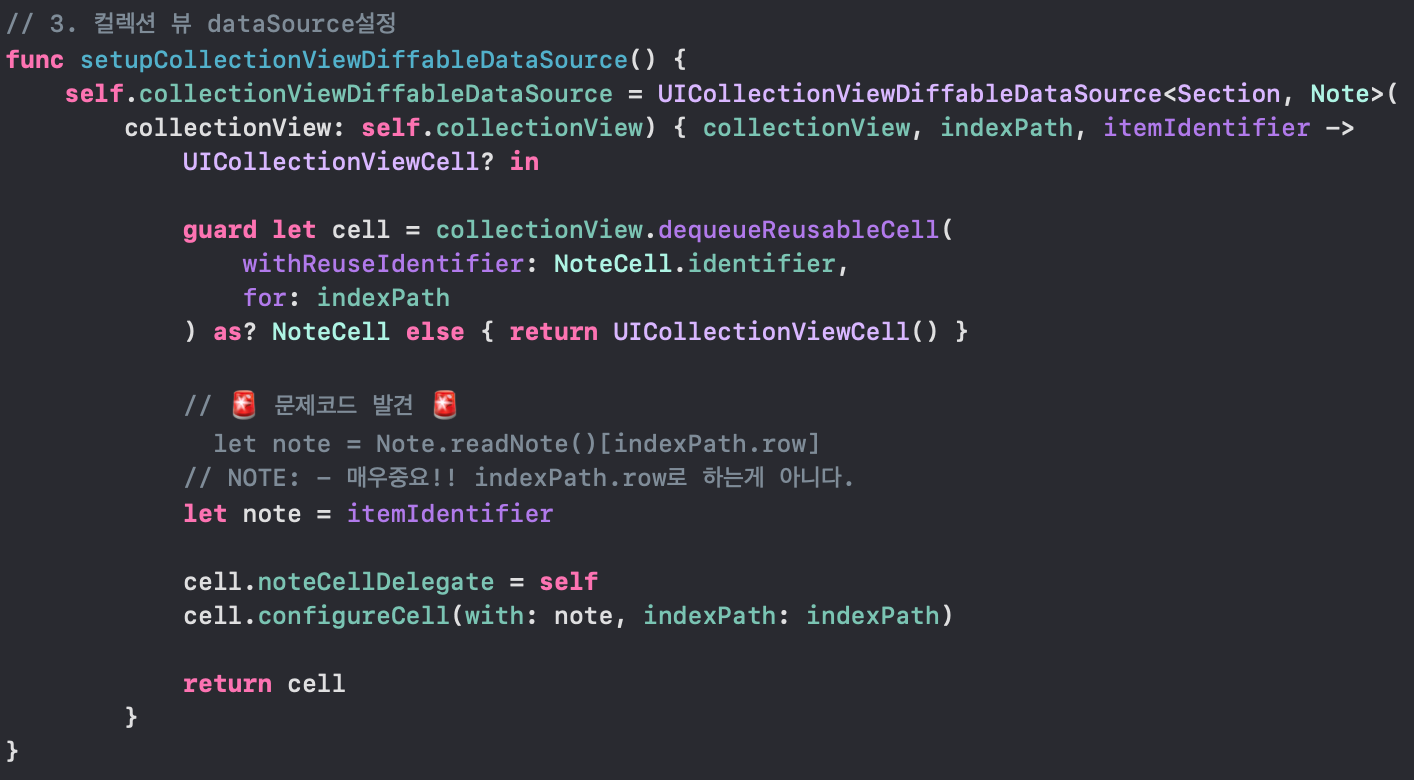
이걸 처음 써보는거라 전체 배열에서 indexPath.row를 사용하고 있었음
그래서 note를 바꾸니까 성공!
'apple > iOS, UIKit, Documentation' 카테고리의 다른 글
| [Realm] The document “default.realm” could not be opened. (0) | 2022.09.05 |
|---|---|
| Realm CRUD more modern and swifty (0) | 2022.09.04 |
| [iOS] UICollectionView에 대해서 알아보기 6편 (Realm, async, await, Delegate) (1) | 2022.09.04 |
| iOS 내가 보려고 기록하는 Realm 구조 설계 및 @escaping (0) | 2022.09.02 |
| [iOS] FlexLayout을 Cell에서 사용할 때 주의할 점 (1) | 2022.09.02 |